How to Add Your AI Chatbot to a Wix Website
If you’re looking to boost your ecommerce website’s interactivity with an AI chatbot that’s always available and perfectly tuned to your brand, adding Scout’s copilot to your Wix site is a breeze
Looking to boost your Wix website’s interactivity and customer engagement? Imagine having an AI chatbot that’s always available, speaks your customers language, and perfectly matches your brand voice. Using Scout’s AI copilot integrating it into your ecommerce site couldn’t be easier.
In this step-by-step guide, we’ll show you how to add an AI chatbot to your Wix website, unlocking round-the-clock support and smarter customer interactions.
Why Go for Scout’s AI Copilot?
Scout’s AI copilots offers several key benefits for your Wix site:
- Around-the-Clock Help: Provide answers to your customers any time of day or night — never miss out on potential leads!
- Multilingual Support: Scout can respond in your customers’ native languages, ensuring clear and effective communication.
- On-Brand Responses: Customize the copilot’s tone and style to match your brand’s unique voice.
- Smart Insights: Gain valuable insights into your customers’ interactions to fine-tune your service.
- Simple Setup: No tech expertise required — Scout’s copilot is easy to set up and deploy.
Adding Scout’s Copilot to Your WIX Site
Step 1: Join Scout and Create Your Organization
First, If you don’t have a Scout account yet, sign up for free at Scout OS.
Then, you can create your Scout workflow. We have pre-built templates and comprehensive docs on workflows.
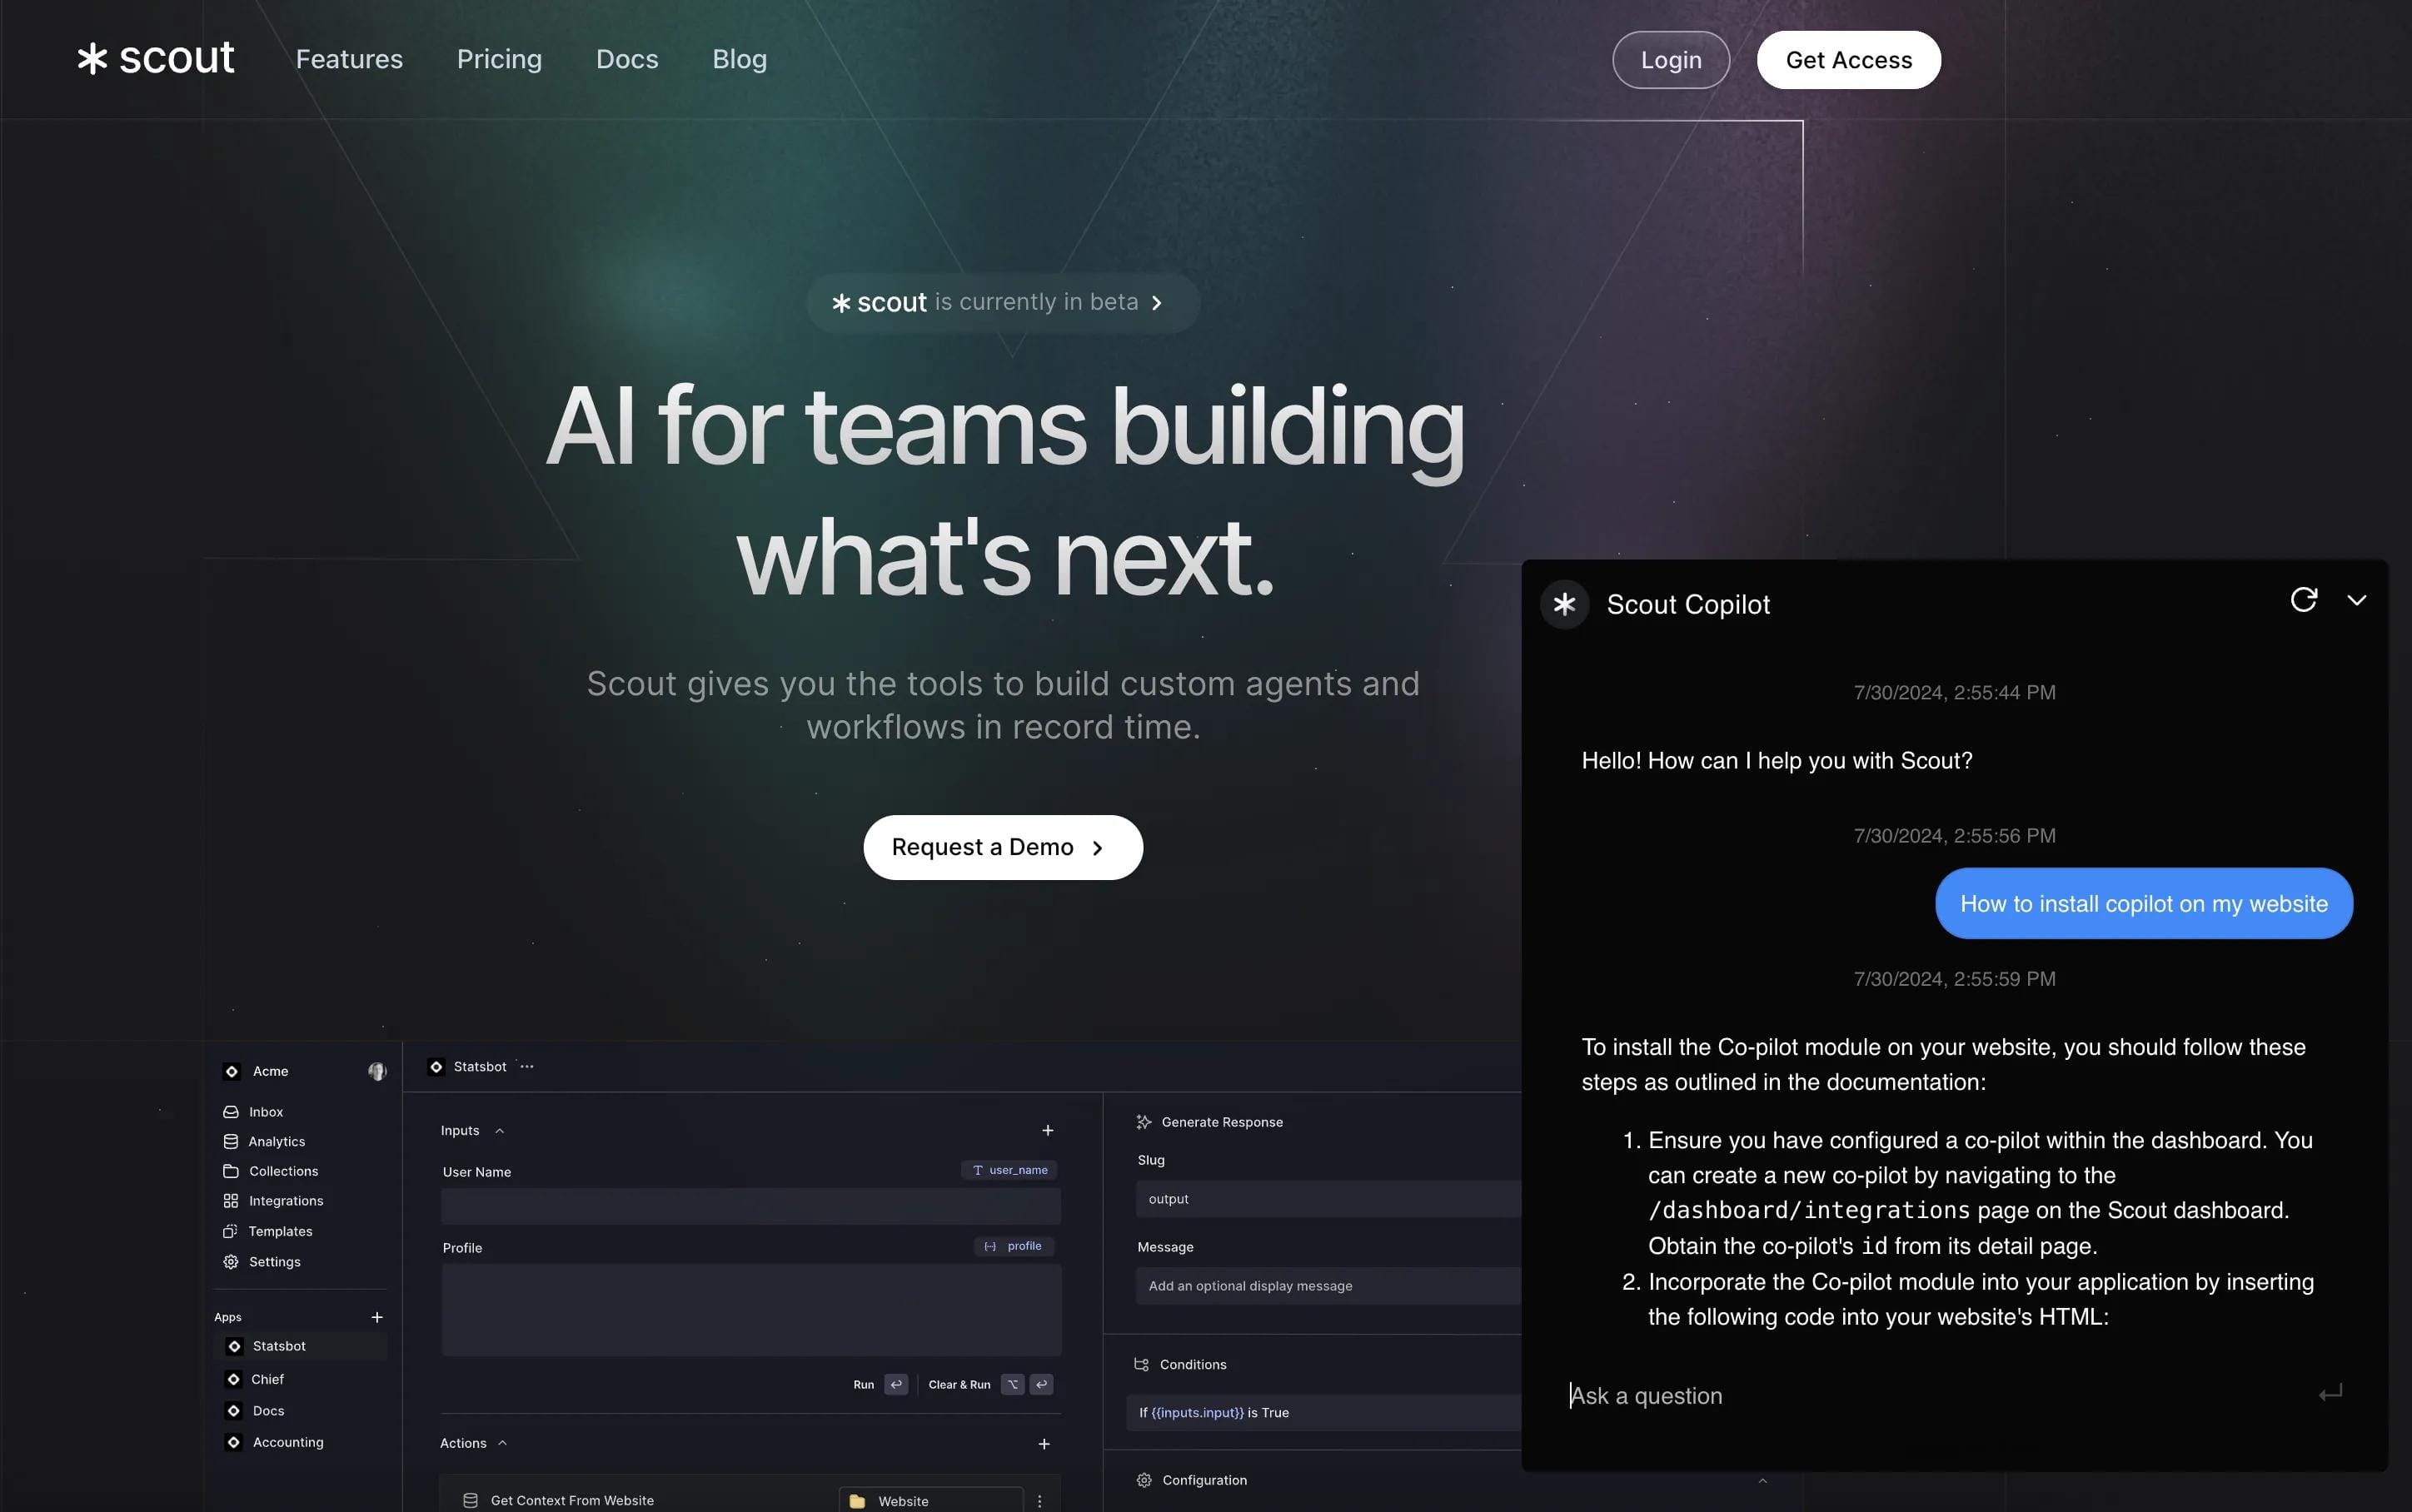
Once your workflow is up and running, it’s time to create your copilot. For tips on crafting a custom copilot, see the Scout Copilot documentation.
With your custom AI copilot designed to your liking, you’re ready to deploy it to your website.
Step 2: Grab the Integration Code
- Obtain the Code: Once your copilot is ready, get the integration code snippet from the Scout Copilot documentation.
Step 3: Add the Chatbot to Your Wix Site
- Log in to Wix: Access your Wix account and navigate to your dashboard.
- Go to Settings: On the bottom left of the screen, click on the settings tab.
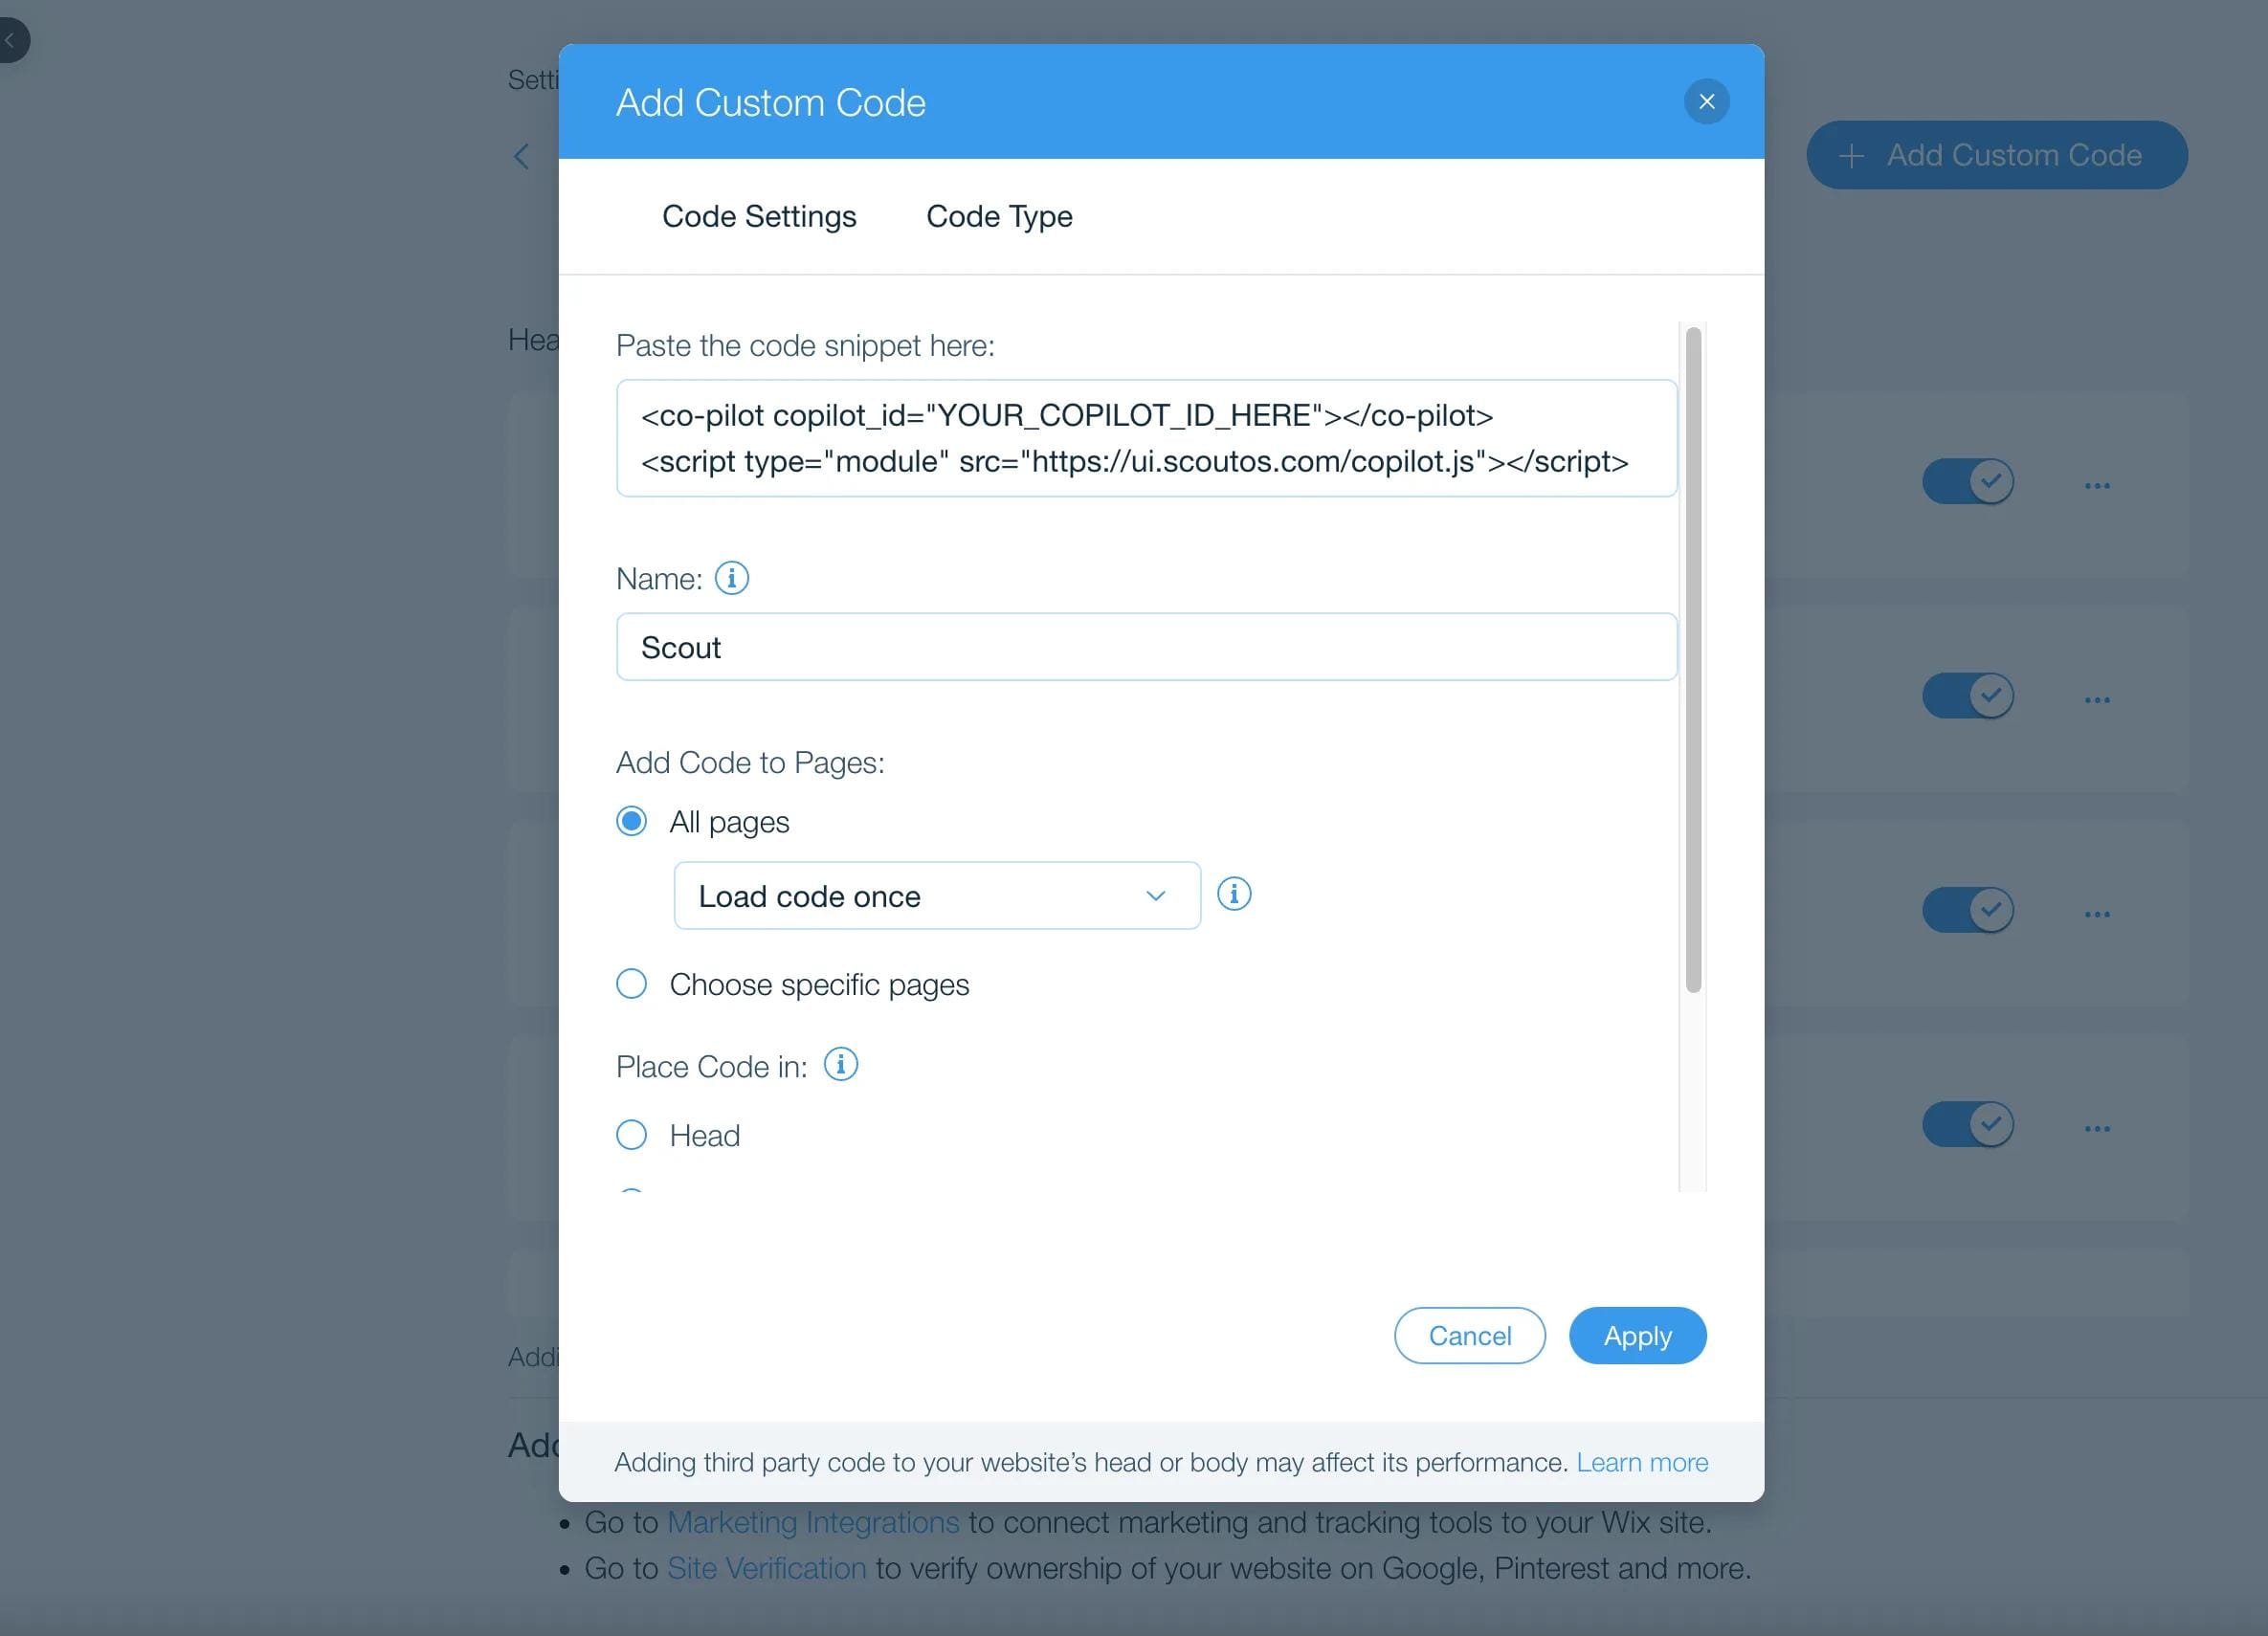
- Select Custom Code: Choose the “Custom Code” option on the settings page.
- Add New Code: Click “Add Custom Code,” paste your code snippet here, and ensure you include your Copilot ID.
- Configure Placement: Decide where you want the copilot to appear — across the entire site or on specific pages — and choose its location on the page.
Step 4: Test It Out
- Publish and Test: Publish your site and interact with the chatbot to ensure it’s working as expected. Check its performance across different pages to confirm proper functionality.
Wrap-Up
Integrating an AI chatbot for ecommerce sites is a straightforward process that can significantly enhance how you engage with your visitors. With Scout’s AI copilot, you’ll have a tool that not only meets your customers’ needs but also enhances your brand’s online presence.
If you have any questions or need further assistance, join our Slack community where our users and staff are available to help.